

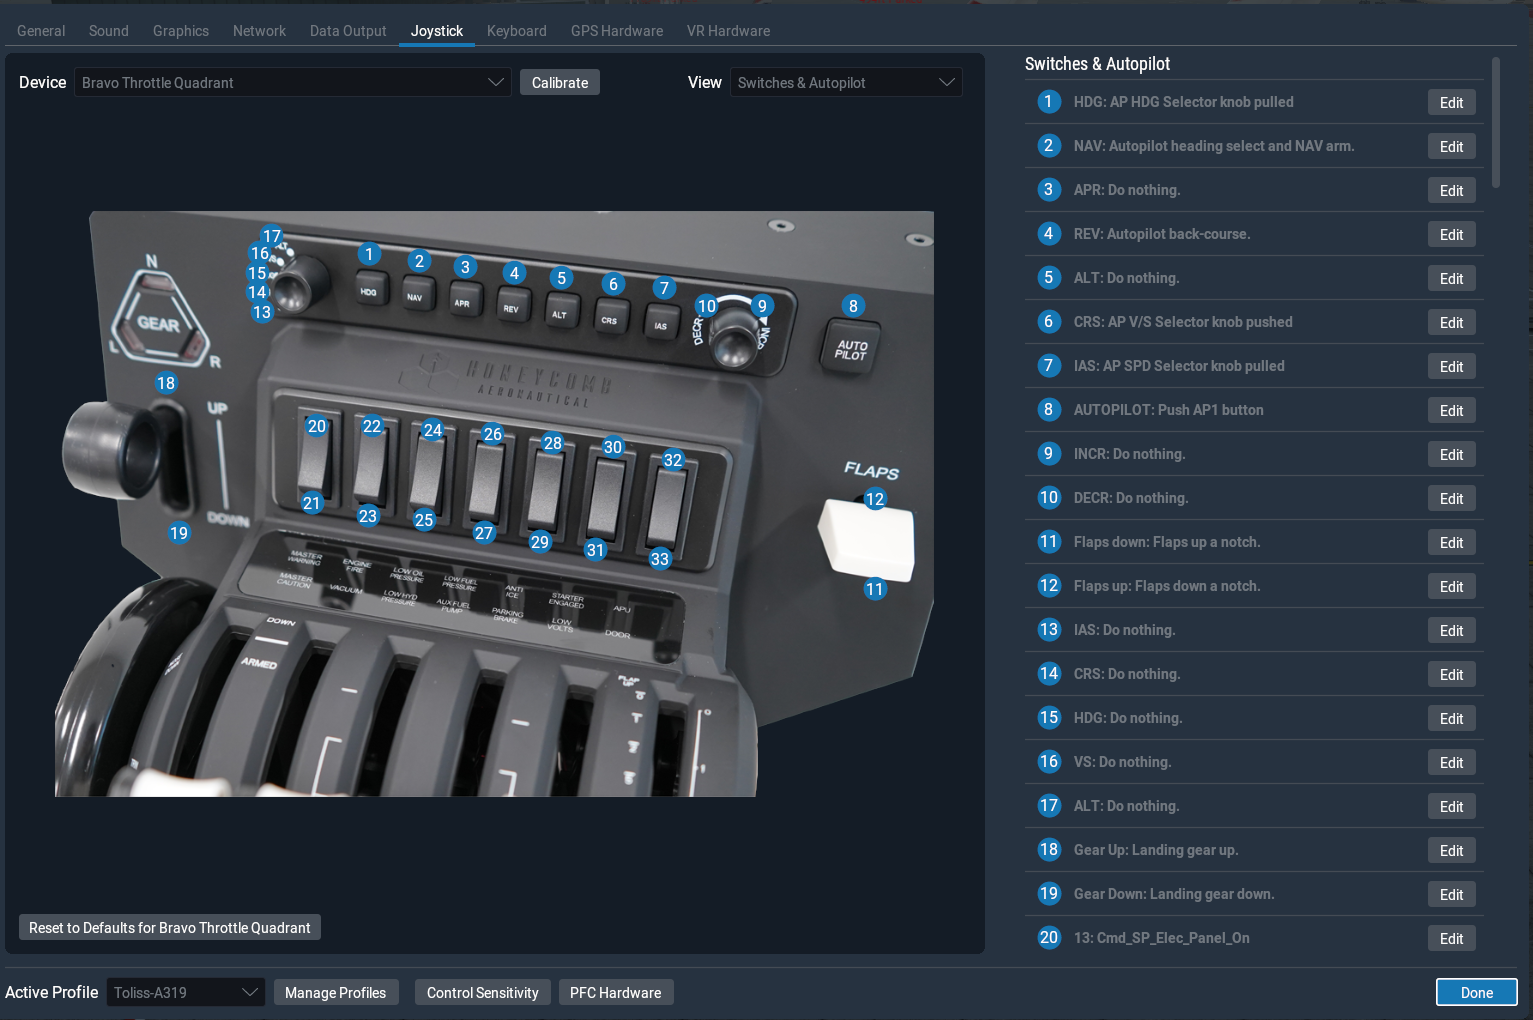
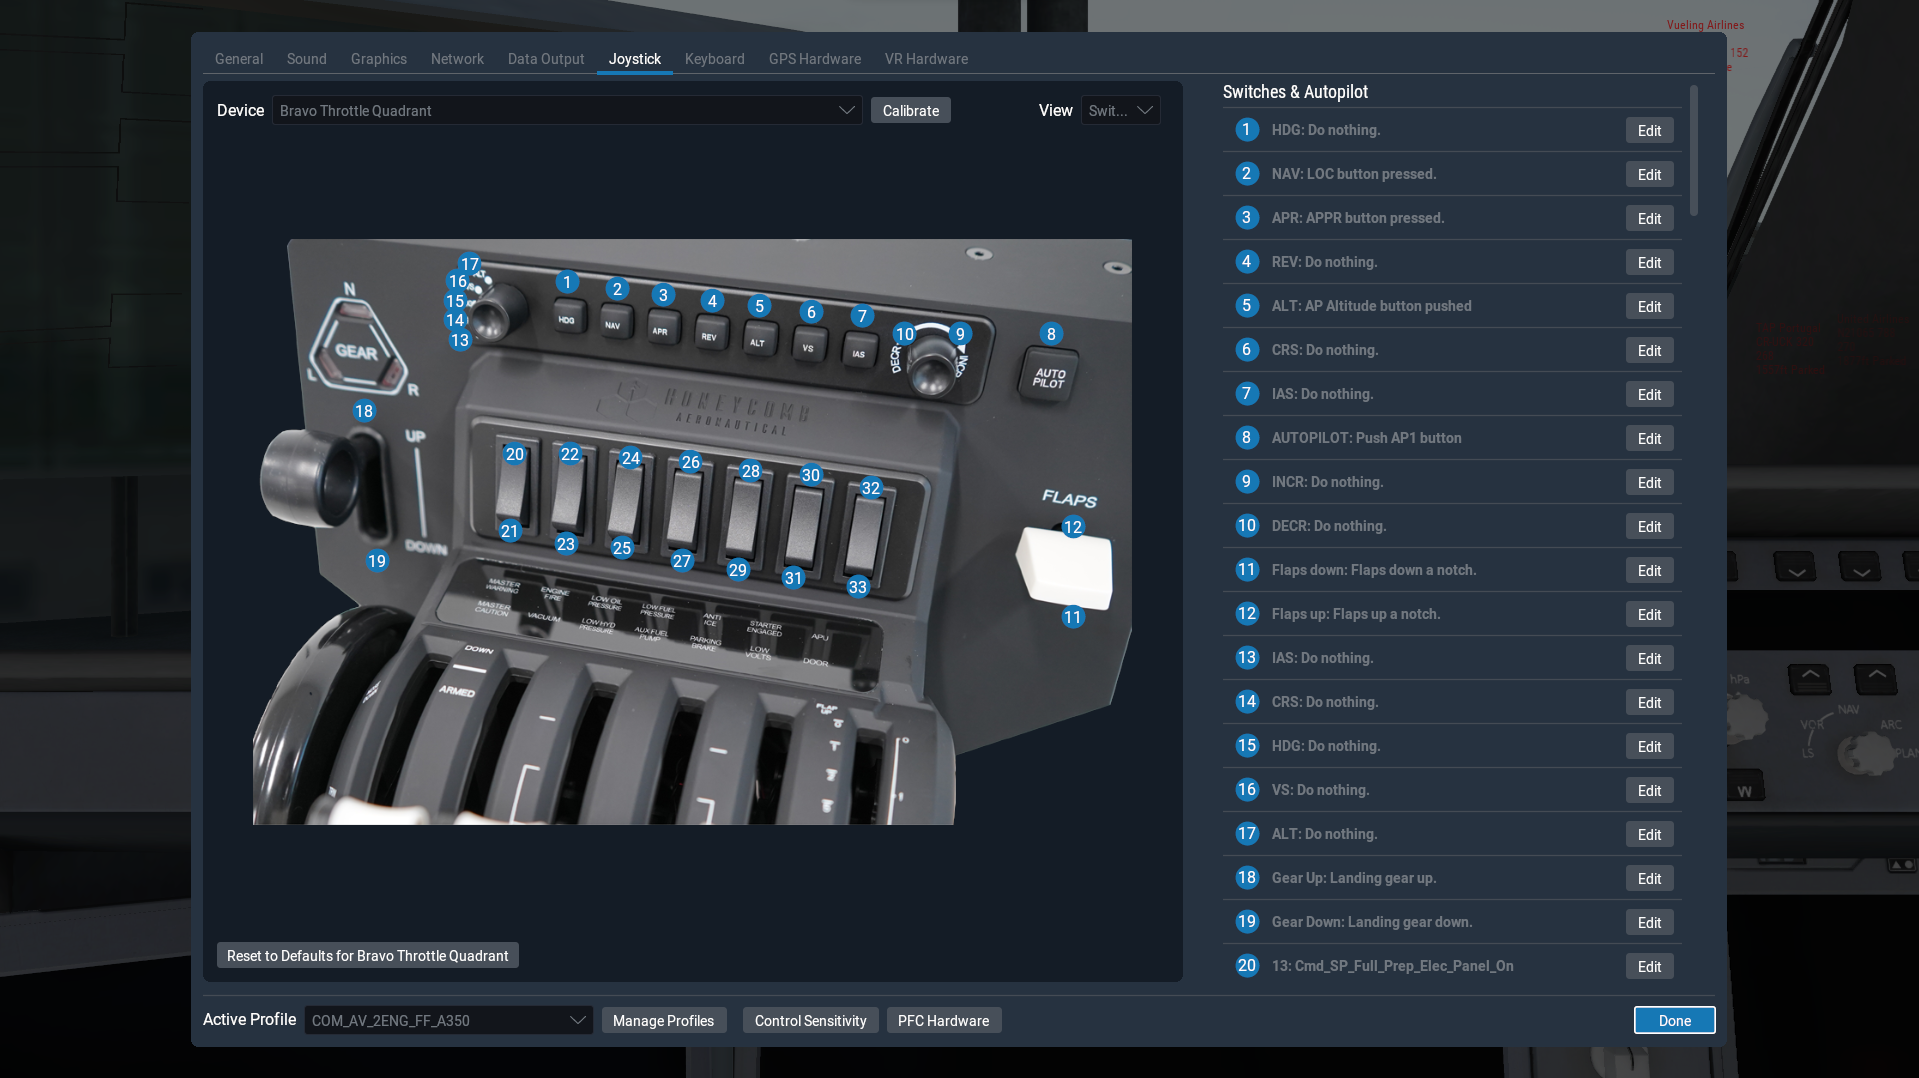
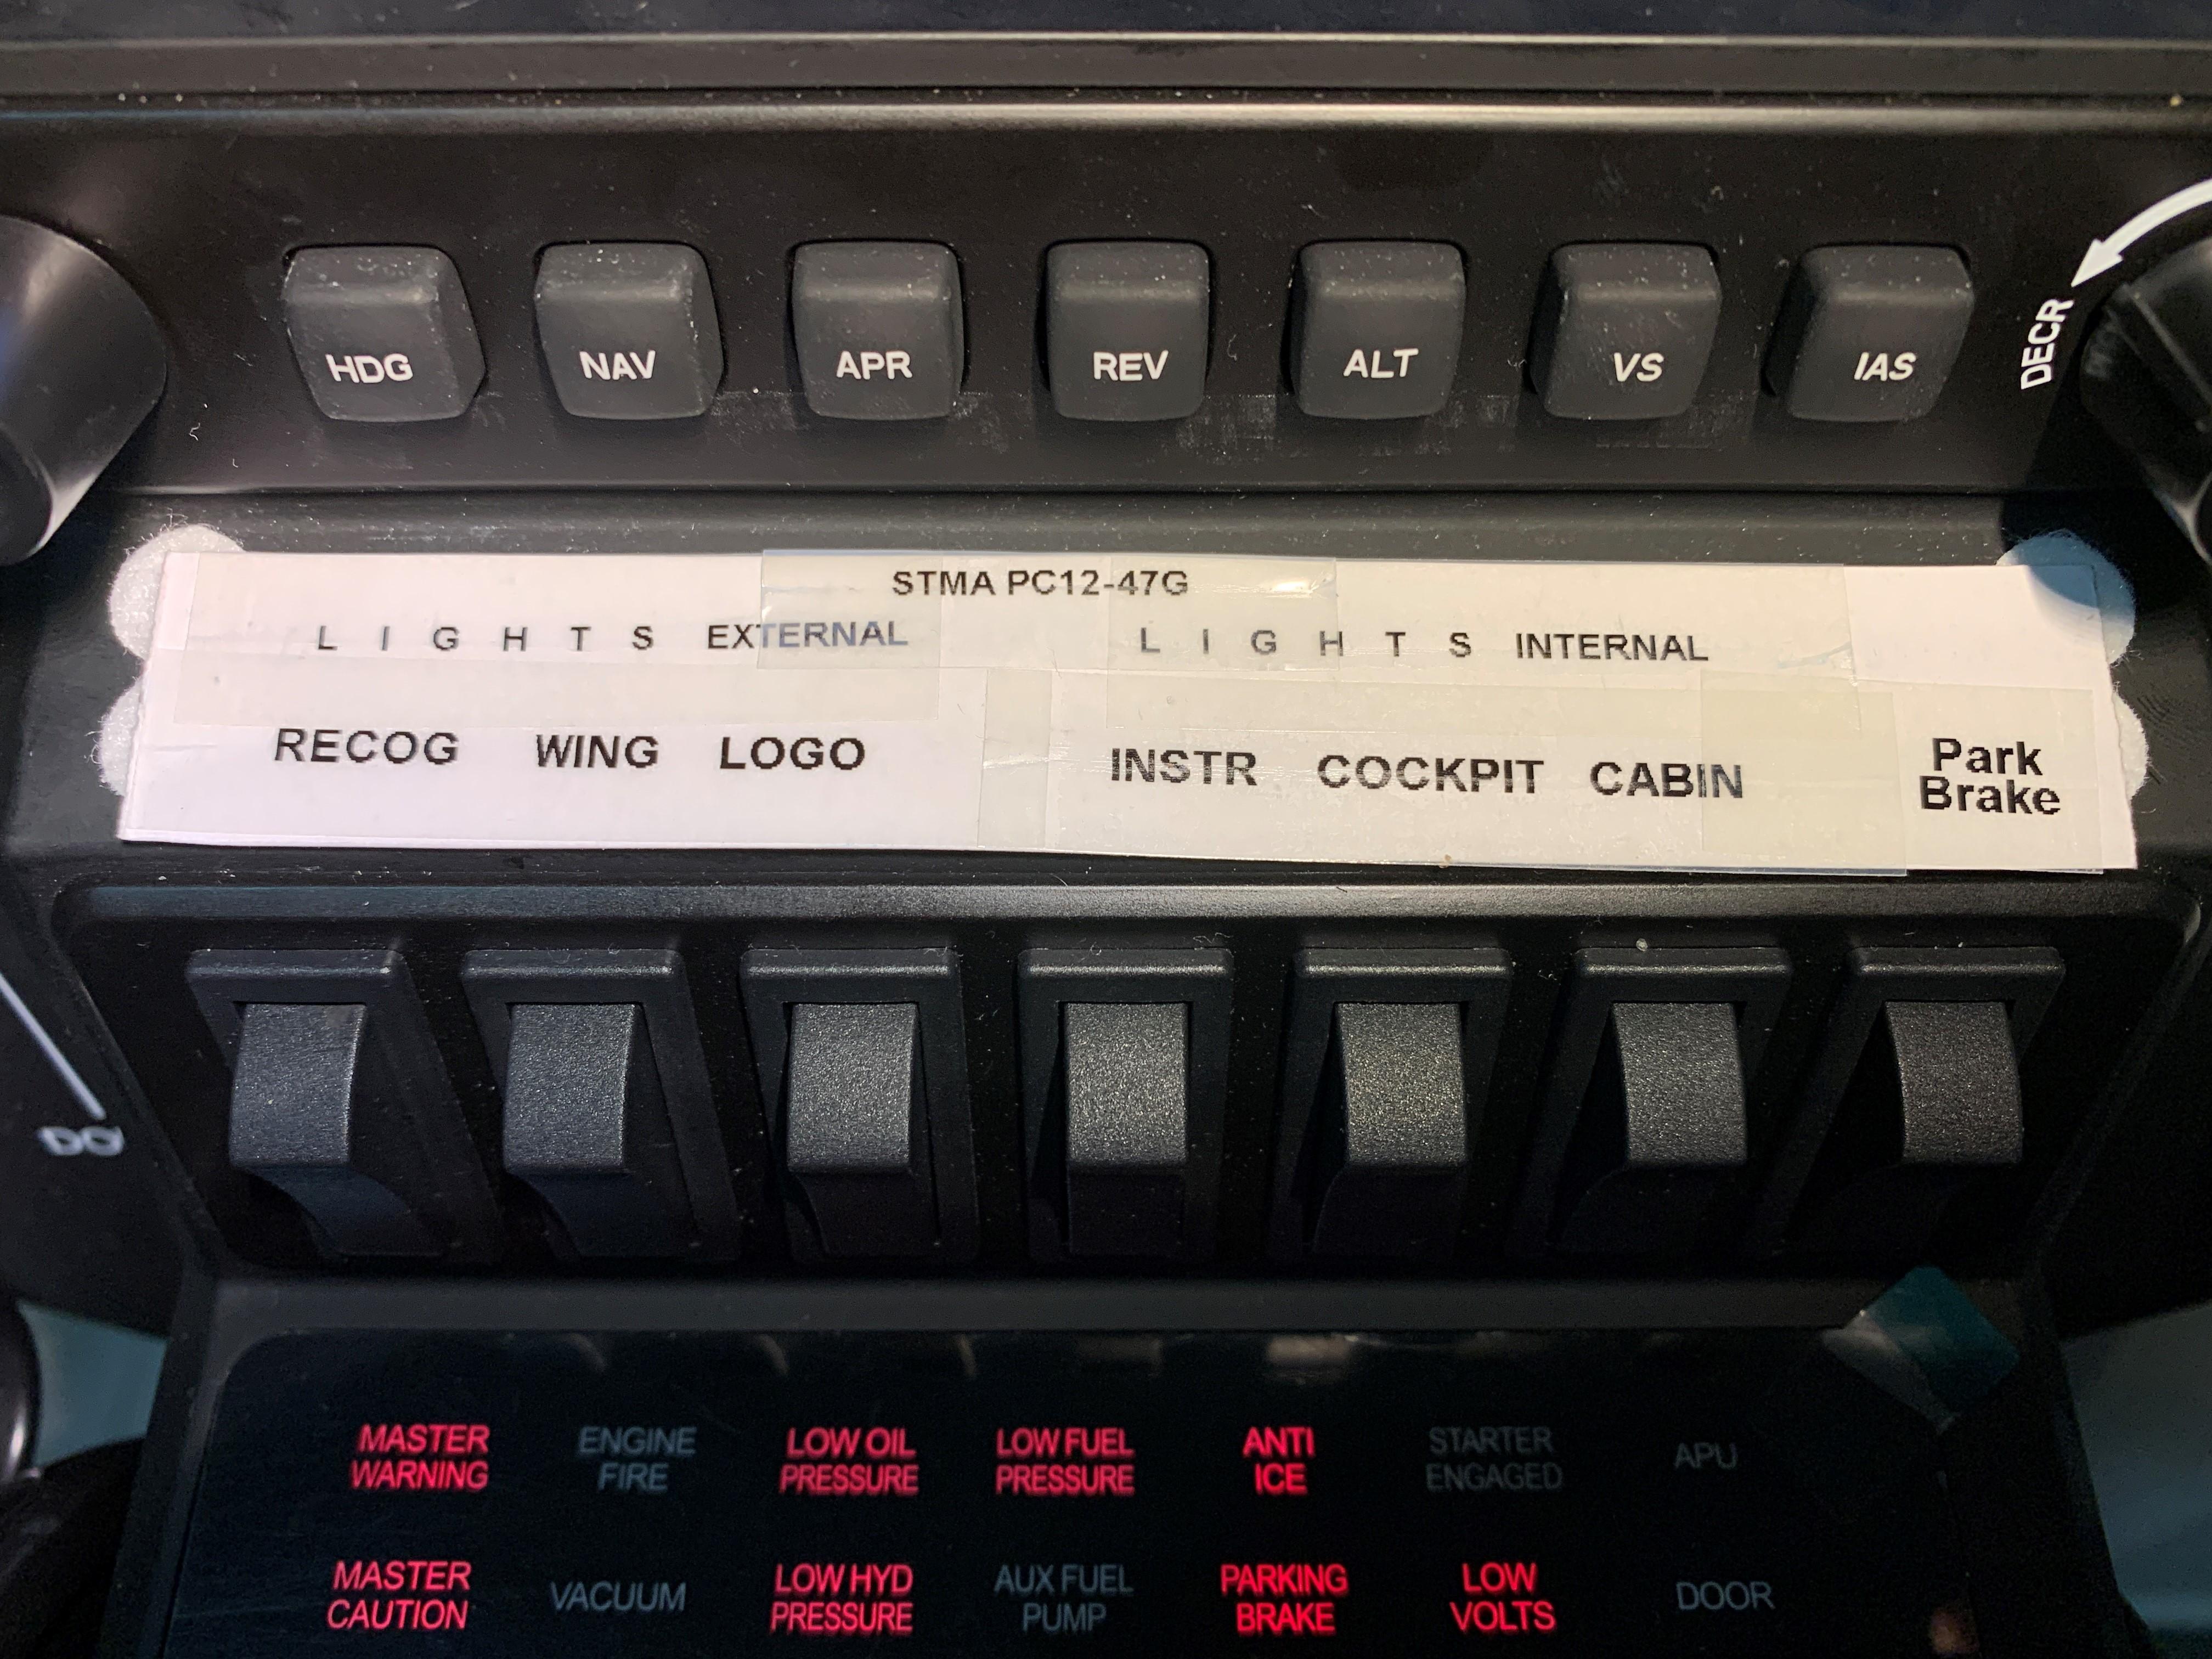
Bravo Throttle Quadrant
Profiles for the Bravo Throttle Quadrant
77 files


Updated
Updated
Updated
Updated

Updated
Updated
Updated
Updated
Updated
Updated
Updated
Updated

Updated
Updated
Updated
Announcements

-
Files
-
-
Download Statistics
-
Files5537
-
Comments10353
-
Reviews4840
-

