


spike9
-
Posts
101 -
Joined
-
Last visited
Content Type
Profiles
Forums
Downloads
Posts posted by spike9
-
-
Sometimes life gets in the way... I personally have been far to busy at both work and home and have no time to work on paints right now. As soon as time permits I will get back to completing the paints I'm working on.
-
the most trivial thing becomes difficult - and the tail is made difficult by the fact that the model has the rudder out of alignment in the model viewer.
What do you use for a model viewer, I've been using Abacus repaint V2, I don't use it for any painting although sometimes I will use it to place markers on the templates for reference and then import the texture into the paintkit temporarily. It also deflects the rudder one way so it is hard to use it for lining up anything on the vertical stab and rudder.
-
Yep, nothing easy when it comes to the nose area. This aircraft is by far the hardest aircraft I have ever painted when it comes to trying draw a straight line from one end of the aircraft to the other. When you finally get it does look great, but I find it can take hours of tweaking to get everything to line up especially if you have to go across the doors and around the nose. Aghhhh...
-
Hey Tom,
I'm also working on an ERA livery in a tundra cargo version, but I haven't made much progress as work and family life has been quite hectic. One thing i will say is the stripes around the front of the radome are proving to be quite the challenge, the rest of the scheme is pretty straight forward. i will say it would be nice if the new paint kits for the tundra and float versions were available. Hopefully we will see those this week.
-
No problem, hope you enjoy them.
-
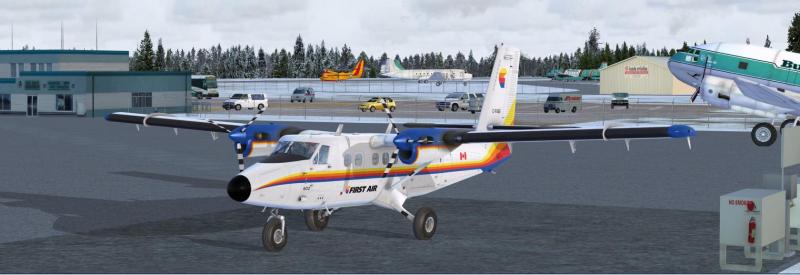
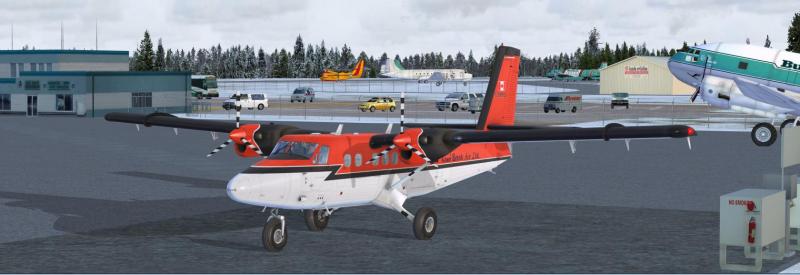
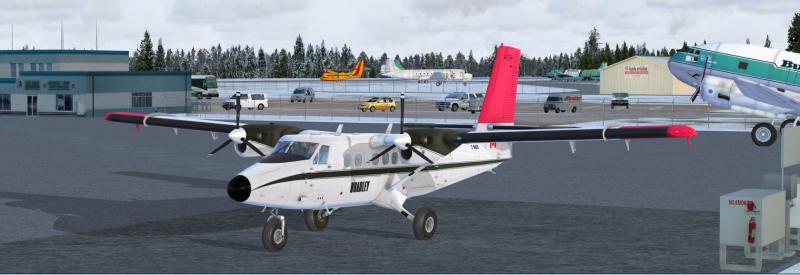
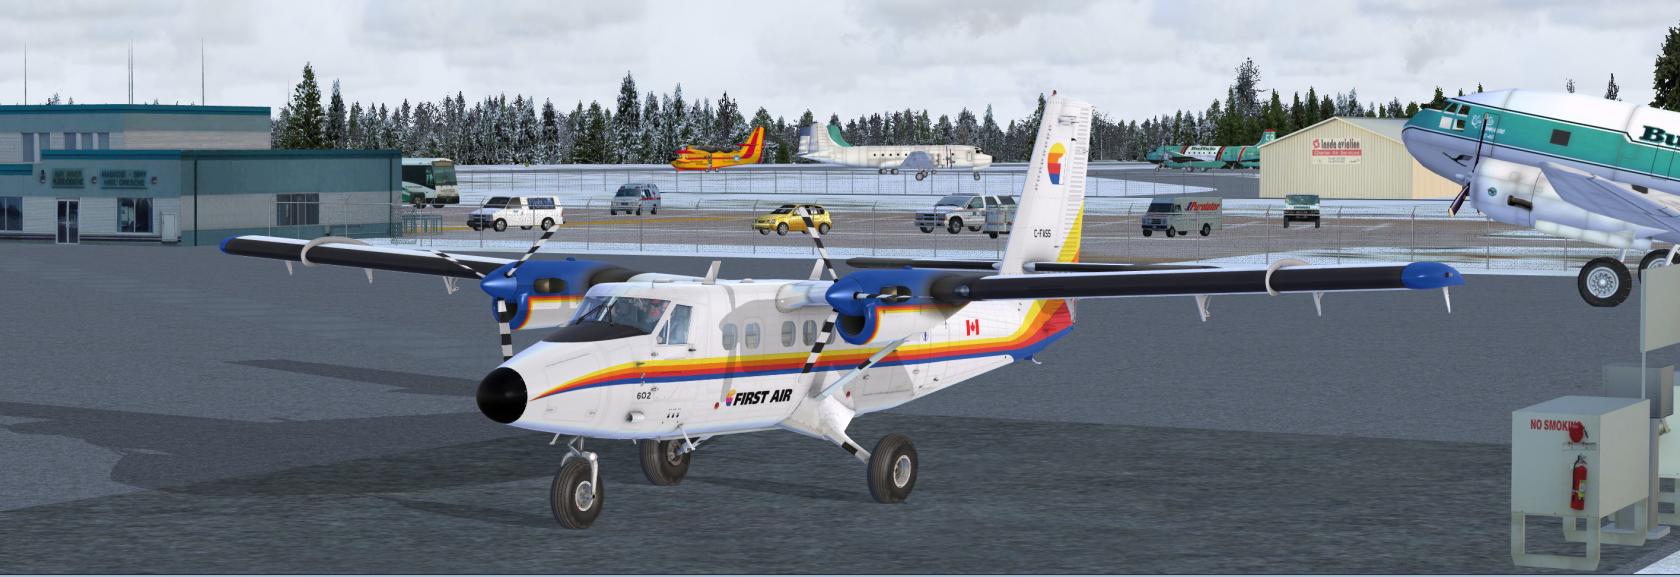
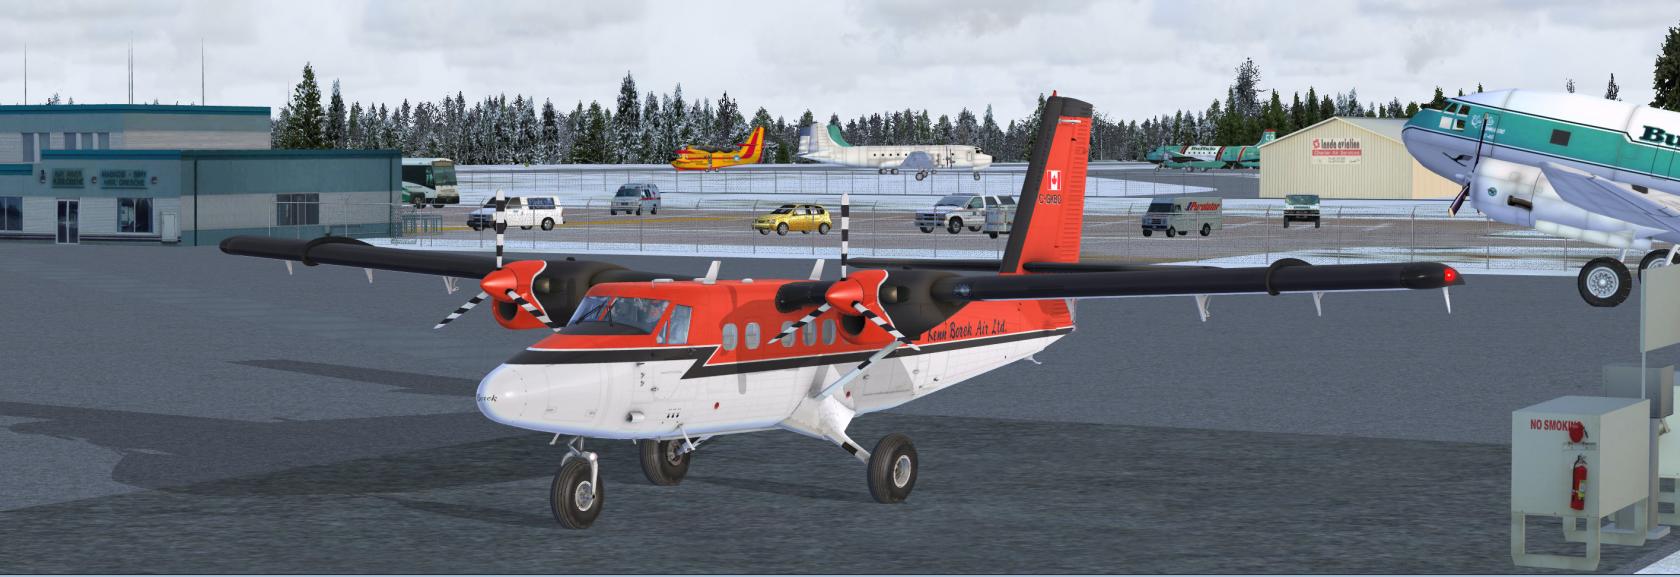
Okay folks, as promised three of my liveries have come out of maintenance and are now sitting on Tundra Tires and waiting for some off strip work.
-
Essentially, that is what I did last night. I created a layer with all of the relevant textures for tundra variant in our existing paintkits.
-
No paints yet that I'm aware of, but I will be converting a few of my paints to tundra versions. There some differences between the the wheel and tundra textures that included moving a few things around on the tail textures to accommodate the larger nose wheel. So simply renaming the textures will not work. We painters don't have a paint kit yet to account for the changes, but there are work arounds we can do to accomplish the task. That's what I will be trying this weekend, I plan on releasing my First Air, Bradley Air and Kenn Borek paints all in a tundra version.
-
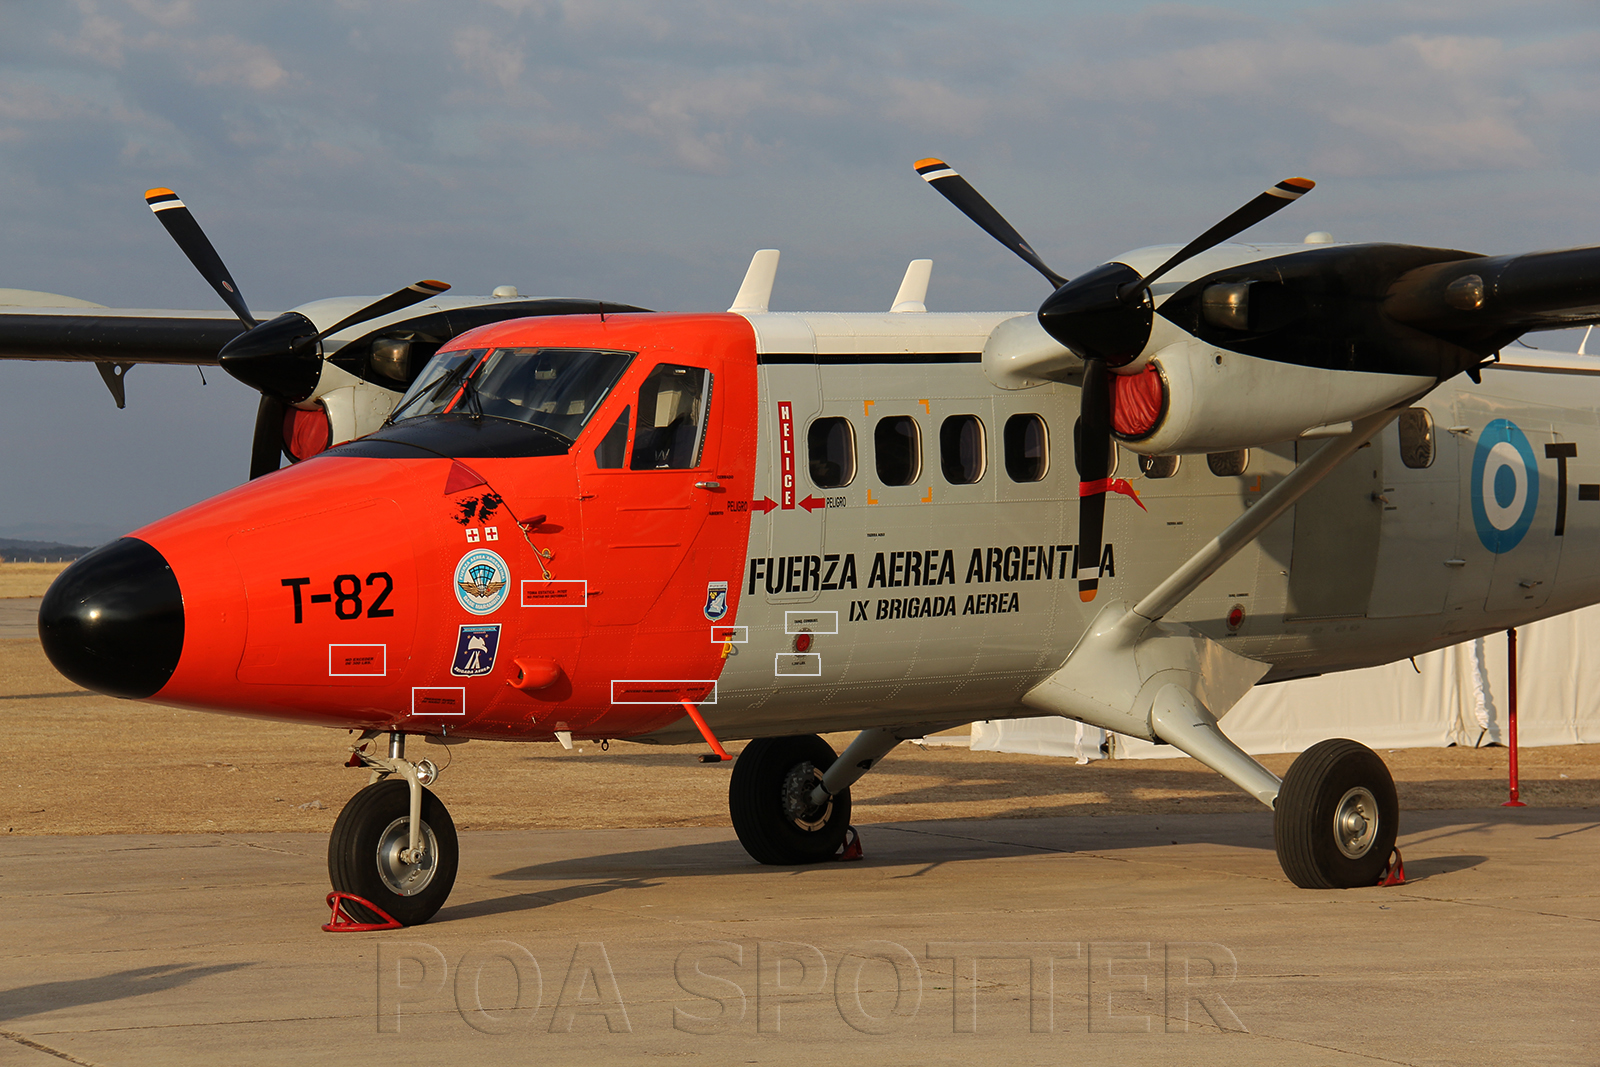
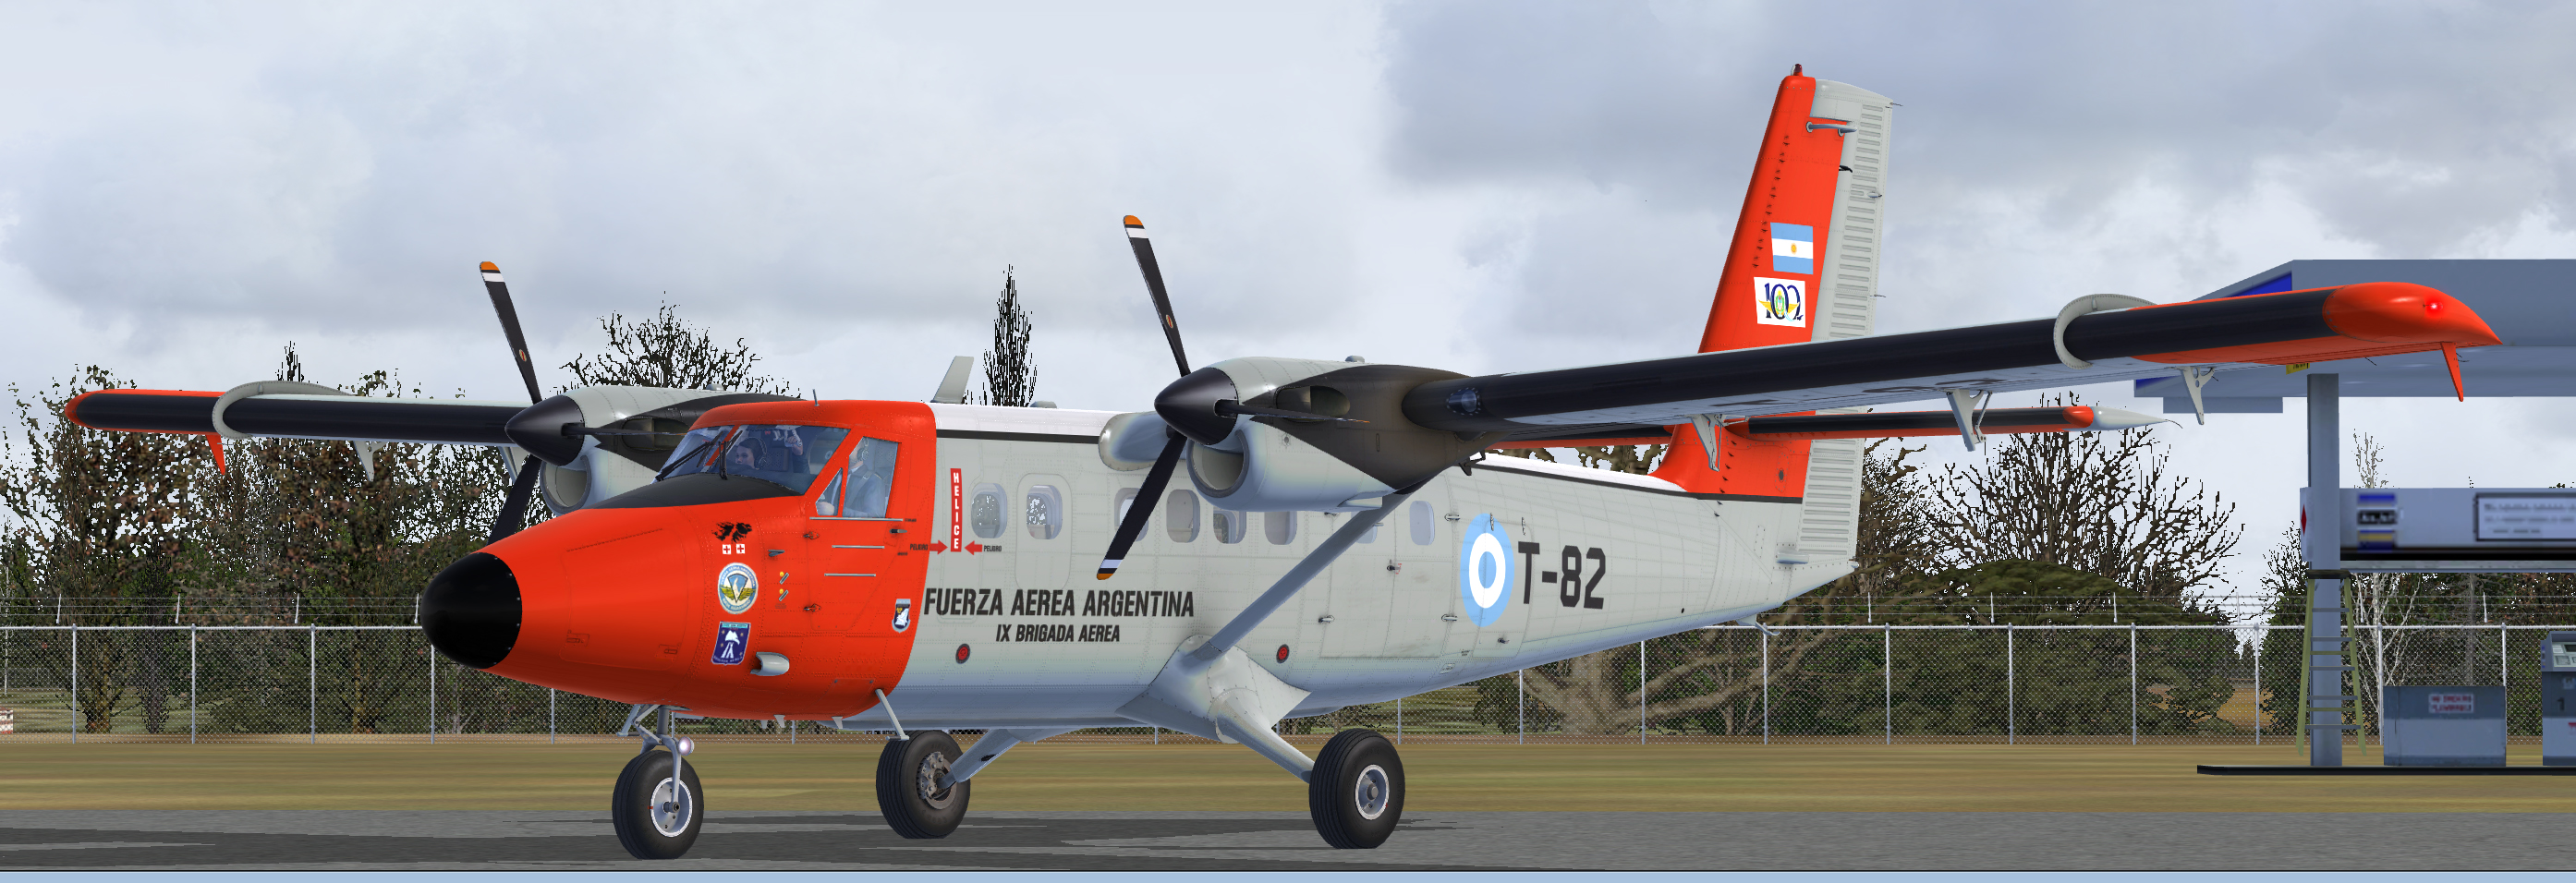
Need some help from anyone familiar with the Fuerza Aerea Argentina Twin Otters, the DHC-6 in general and preferably speaks Spanish. I'm trying to figure out what the placards in the areas marked with grey say in Spanish. I can't find a picture where these markings are actually readable, but I would like to put them on my repaint. Call me a little anal because you probably won't be able to read them on the paint, but its all about the illusion. Any help would be greatly appreciated.
-
Ladies and Gentlemen let me introduce Fuerza Aerea Argentina T-82!
It's a work in progress, but coming along nicely. Just have a few lining up issues on tail and engine nacelles to fix, and then find a few parts find here and there, which shouldn't take to long. Then it'll be time to work the magic on the other side.
-
 4
4
-
-
Great resource!
-
Thanks gr.eg,
Just trying to make it as accurate as I can based on the photo's I found, but I suppose I could drop one sticker. Now if I could just figure out what all the Spanish placards on the fuselage are, damn military always loading up airframes with hundreds of cautions and placards...
Hi spike9,
3rd msg...
For your information there were no logo (somme others are missing too) on the previous version, see below:
Good news for the future version, thank you very much.
-
Hey Skkuda thanks I have already duplicated all of those and they are ready to go when start this paint.
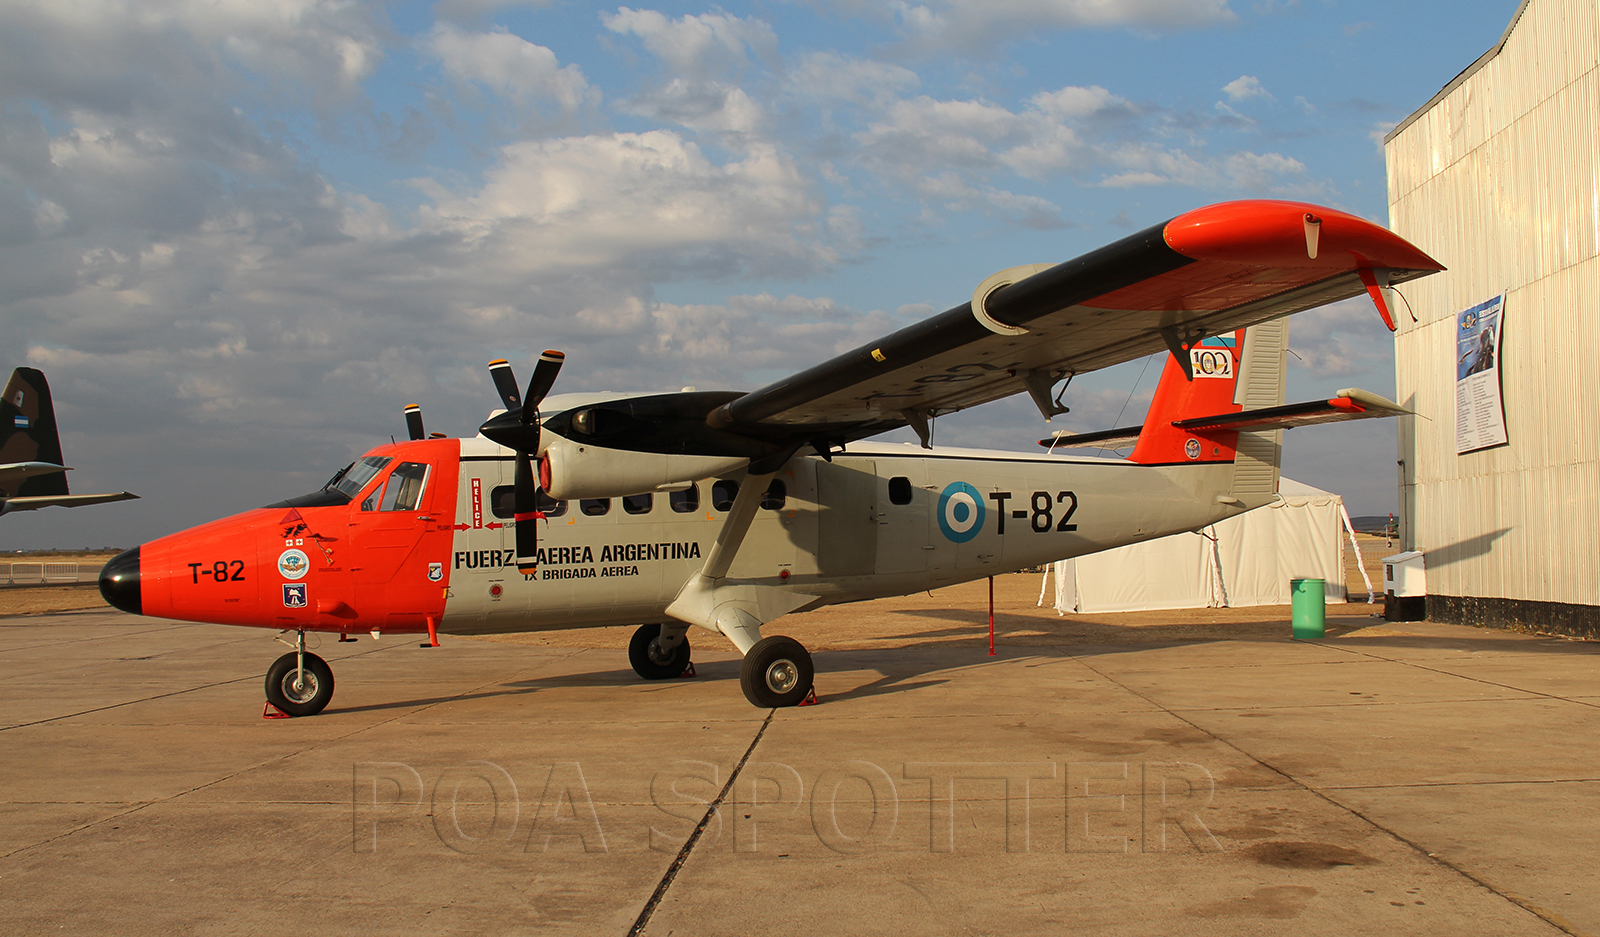
I will try to post I picture tomorrow of the area I'm talking about. It's right beside the inspection hole you are talking about. So far I've only seen it one picture of T-82. I've been scouring the Internet looking for crests used by the Argentinian Air Force, but haven't seen a match yet. Nor could I find anything on any of the Antarctica research sites.
Peter
Hey Skkuda,
Here is a picture that shows the sticker I'm talking about. Just under the left horizontal stabilizer leading edge and forward of the inspection hole there is a sticker, but I can't make it out. I'll be starting this repaint this weekend.
-
Will left here what I Found......
Hope this help!
Hey Skkuda thanks I have already duplicated all of those and they are ready to go when start this paint.
I will try to post I picture tomorrow of the area I'm talking about. It's right beside the inspection hole you are talking about. So far I've only seen it one picture of T-82. I've been scouring the Internet looking for crests used by the Argentinian Air Force, but haven't seen a match yet. Nor could I find anything on any of the Antarctica research sites.
Peter
-
Thanks Spike!
Skkuda, There is a small emblem on the left side of vertical fin just below the horizontal stab any idea what it is?
-
At skkuda, that's an interesting livery, I might try that when I'm finished the Kenn Borek machine (C-FBBV) I'm currently working on.
Still have in the waiting line another Ministry of Natural Resources machine and an RCAF SAR machine when the 100 paintkit is available.
-
Sorry Dag,
I didn't mean to hijack the thread. I do agree a wire frame layer showing all the parts would be nice. Might I also suggest a simple layer with labels to identify what some of the not so obvious parts are; I know after finally figuring out where some of the parts were I would have never guessed by the shape of the texture in the paintkit.
-
I also agree, I had a heck of time finding various detail parts, but with a little help from others who have also struggled with this I did get most of things the way I needed. I also wouldn't mind seeing a few things remapped like:
1. the vents on the rear cowlings, it would be nice if there was one for each vent at least on one side and mirrored to the other side.
2. the horizontal stab, change mapping so the end cap is not mappeded spanwise across the stab, I tried doing the stab with a chordwise red and yellow strip and a thin black pin stripe in the middle, but couldn't do because this ended up being a vertical stripe on the end.
3. finally the intake screen on front cowling is mapped to part of the rear side intake screen. this limits any paint placement in this area as it might show up the front screen as it did in my SAR Huey.
These few changes would allow for freedom when painting this beautiful machine.
Peter
-
Very nice I'll definitly be adding to my library.
-
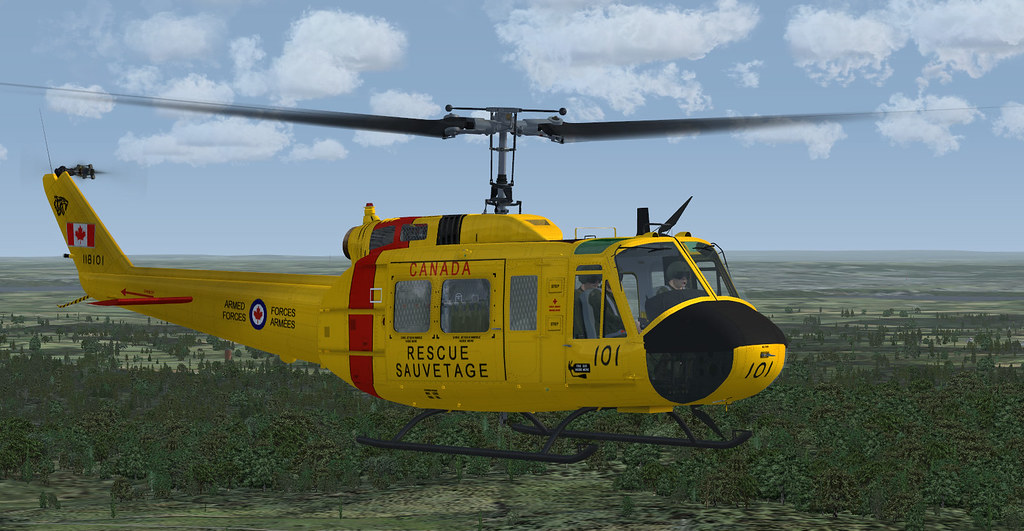
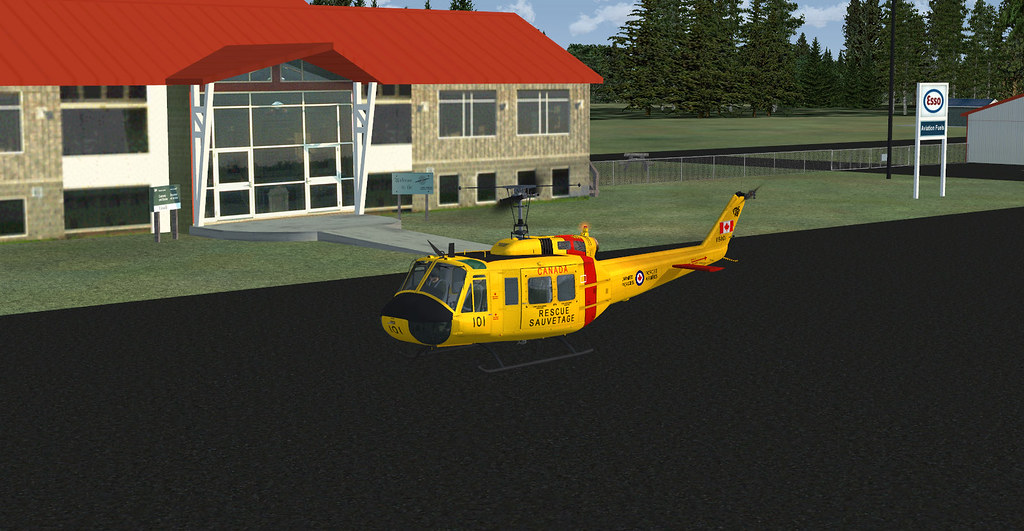
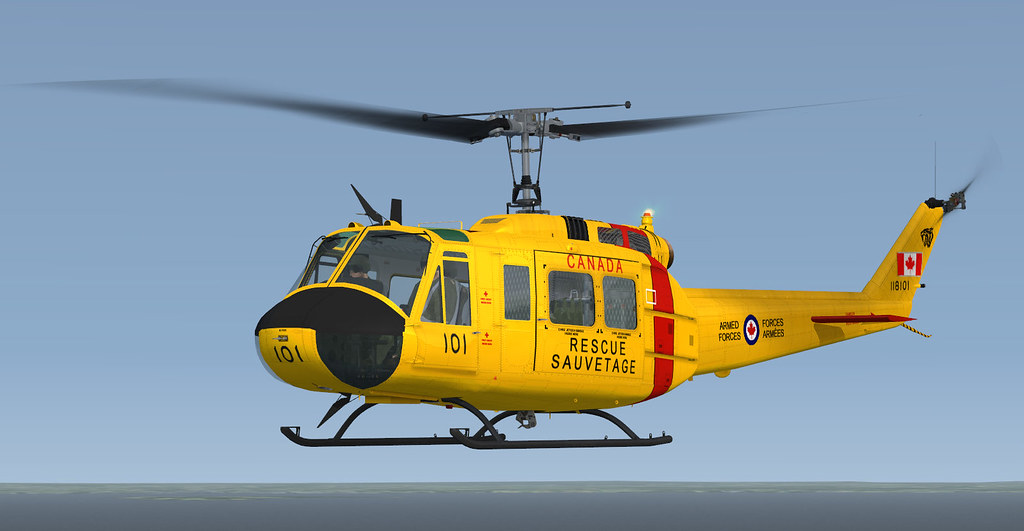
Okay, I finally finished my Canadian Armed Forces SAR version.
This repaint depicts a Search and Rescue helicopter of the Canadian Armed Forces assigned to the 439 Combat Support Squadron at CFB Bagotville, Quebec in the mid 1990s. Although the CH-118 is technically a CUH-1H model, Aerosoft’s UH-1D will have to suffice as a suitable replacement. This serial number was initially delivered to No. 403 (HOT) Squadron, CFB Petawawa, Ontario and supported operations in Quebec during FLQ Crisis in 1970. It then served with 15 Wing Base Rescue at CFB Moose Jaw, Alberta from 1970-1993. After which it served with 417 Combat Support Squadron Rescue Flight at CFB Cold Lake, Alberta, from 1993-1995. It was later transferred to the 439 Combat Support Squadron, CFB Bagotville, Quebec, until April 1996 when it was replaced by the CH146.The helicopter was re-classified as Aircraft Battle Damage Repair Training Aid 916C on 11 February 1997 and is currently preserved at the National Air Force Museum of Canada at Trenton.
Hope everyone enjoys.
Peter
-
Thanks Matt,
I think I'll just make my inlet screens black, and yes the vents are frustrating.
-
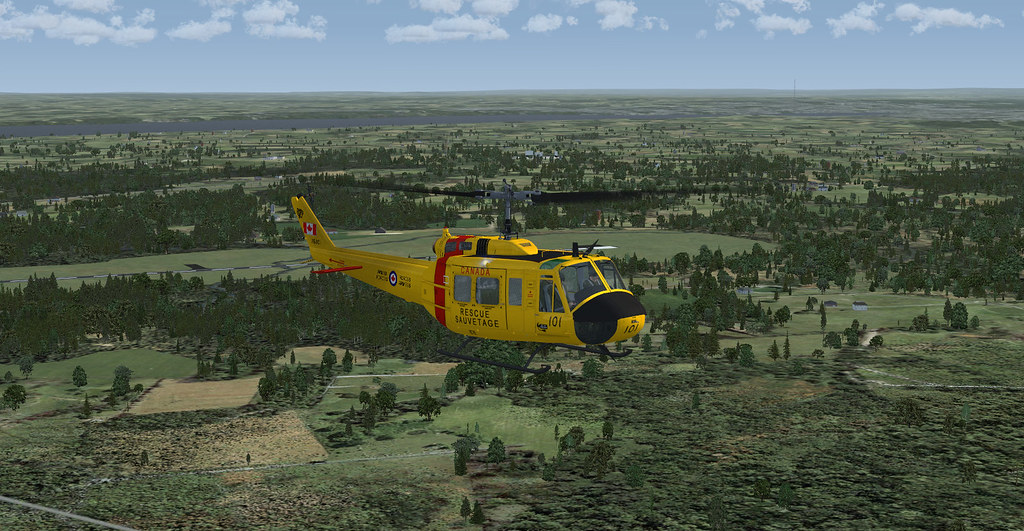
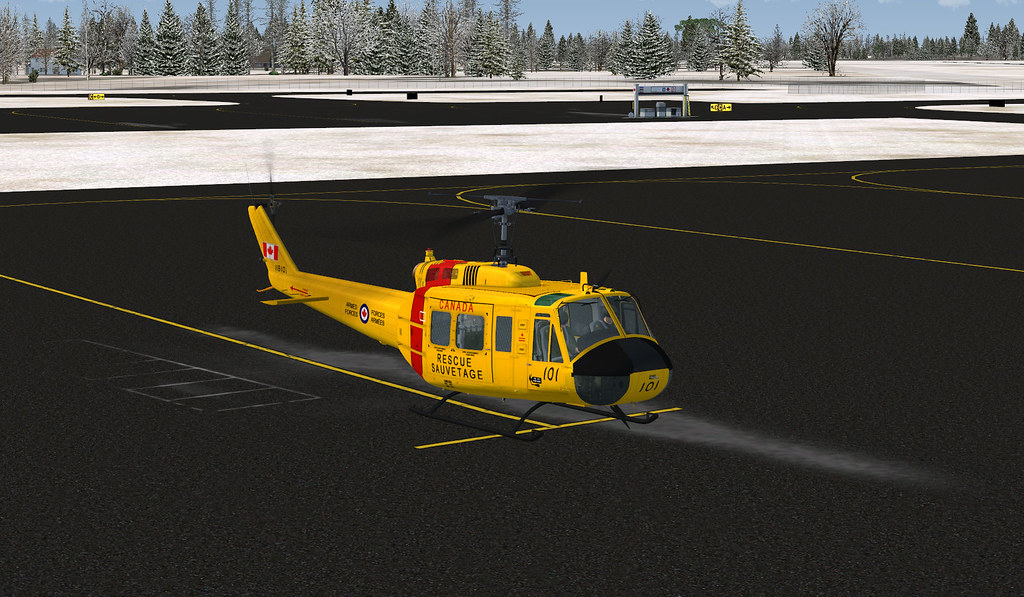
And heres the next that will be part of a 3 pack

Can anyone tell me where on the textures that annoying white bit is in the middle of the windshield? Its driving me mad


Hey I'm doing one of those well... I choose tail 101.
I see yo are running into the same problems I am, there are a few wonky mapping issues; first the rear top vents on the engine nacelles aren't mapped individually so I'll have to live with yellow ones, second the inlet screen on the front nacelle is mapped to the inlet screens on the rear nacelle so if you're no careful you end up with some odd colors up front like I did, and i can't for the life of me figure out where the nav lights above the door or blade antenna on top are mapped aside from the fact that they are on Bell205-001. In the end I'll have to take alittle artistic license and change things a little, but then again the real CH-118 is a different model then this machine anyhow.
-
Never mind, I was able to get the German site download to work.
-
I see a paintkit link is on the product page, but it no longer works... Can that be fixed or can an admin tell me where I can now download the paintkit?
Thanks
Peter


Discuss repaints in this topic
in Twin Otter Extended
Posted
Your welcome, it was fun to work on and I plan to put it on ski's when time permits.